How to create a blog
In this tutorial, we will show you how to create a blog in different blogging platforms or self-hosted platform with screen shots. We assume that you have knowledge about the blogs, domains and web hosting. In order to learn what is a blog and why and how you should start it, go to this tutorial.
Let us jump straight into different blogging platforms and how to create and write the first blog post in each platform. We will cover WordPress and blogger in this tutorial.
How to create a WordPress blog
The WordPress is the most popular blogging platform worldwide. The WordPress has two types of blogging options. One is the wordpress.com and other is wordpress.org.
Create a wordpress.org blog
Creating a wordpress.org blog is comparatively harder but it allows you plenty of options to include in your blog website. The options or features are generally in the form of the plug-ins, widgets, and high-quality themes.
To create a blog based at wordpress.org you need to self-host it. That means you need your own web hosting. Due to the popularity of WordPress the hosting companies has become smart enough to offer very easy ways to set up the WordPress blog. Bellow, we will take a web host example to set up WordPress blog to a newly bought hosting account and show you how easy it is to create a blog. This hosting company offers a free domain with the hosting plan.
Self-hosted WordPress installation
Step 1: Get started
We recommend and used this web host for creating a blog. The ease of use to create a blog in a few clicks and in terms of service and customer support, the iPage becomes a good choice to go with. They offer a special WordPress blog hosting package that allows setting up the WordPress in literally three simple steps after you complete the sign-up process.
No need to download WordPress package from wordpress.org and uploading it to your hosting account. It’s all automatic to create your blog.
Click to Sign up with the iPage web hosting.

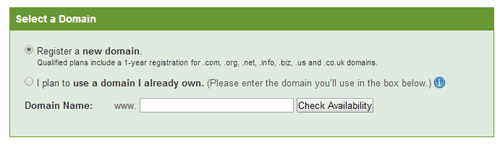
Step 2: Choose a domain name
The hosting company offers one-year free domain name. If you already have a domain then you will receive a domain credit to your account.
Step 3: Enter billing information
Just enter billing information in this step and follow the information given in the sign-up page. You can select per month, yearly or higher plan (up to you). The longer period you select it will offer more discount.
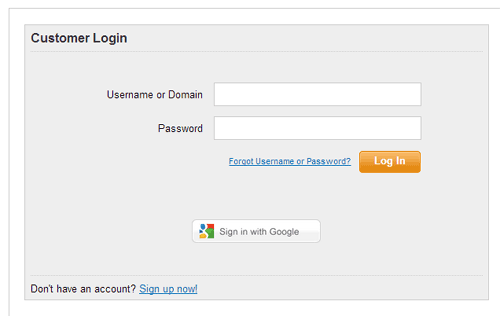
Step 4: Log in to Control Panel
After completing the sign-up process, you should get a confirmation email with all hosting information including log-in details. You can access the log-in page from the home page or directly from your email.
Step 4: Configuring WordPress
Now this is where you will start your new blog at your own domain in minutes. As soon as you log-in, you will be asked to create a new blog in WordPress in three easy steps: Setup, Install, and launch!
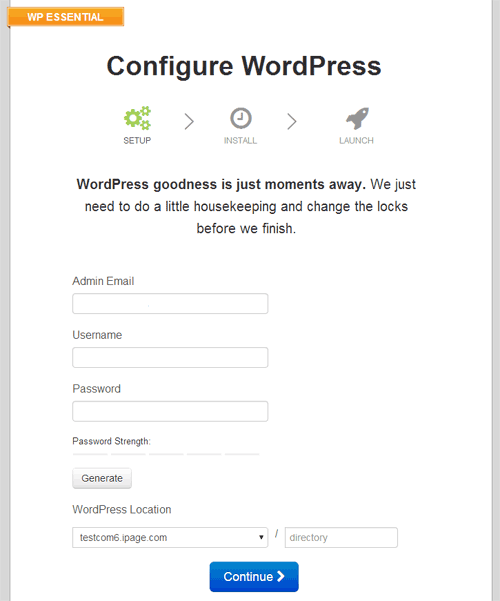
Simply enter the WordPress admin login email / password and click Continue. This will be used to login to your WordPress account to write/update the posts or setting your blog widgets, plugins etc.
Step 5: Select a WordPress theme
The WP Essential package that you signed up includes preloaded WordPress themes. You can select any theme among those or if you have an idea you can simply upload and choose your own by clicking “Add new”.
Select a theme you want.
That’s it your blog / website is up at the new or old domain you have and is live!
If still not started, this is the sign-up link to iPage web host:
Creating a wordpress.com blog
The wordpress.com offers to create a blog hosted in the wordpress.com. That means all your posts/files will be hosted by WordPress and you do not need to buy a hosting plan. You can create a free blog by using a sub-domain of wordpress.com. This will cost you nothing, a good option for starting a personal blog etc. Your blog address will look like this:
yourblogname.wordpress.com.
Alternatively, you can choose a custom domain, which costs you every year. In that case, your address will look like this:
yourblogname.com or
yourblogname.net or
yourblogname.org etc.
To start creating a wordpress.com blog go to wordpress.com and click on Get Started link as shown below:
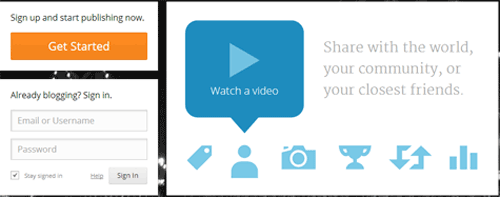
The next screen allows you to enter the name of your blog along with email address, username, password. The option asks the blog address as shown below.
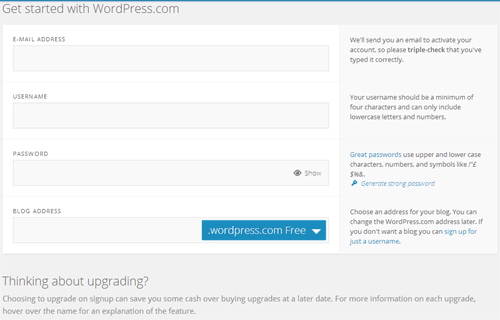
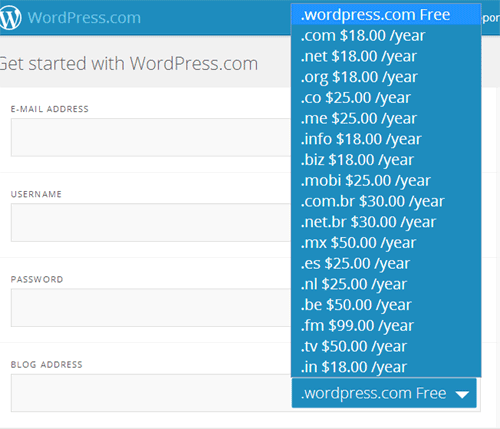
You have to decide if you are going for a free sub-domain or a bought domain of your own. If your purpose is to make money then the free option may not work. See options that suit you and your budget, and complete the sign-up process. This is where you have to choose a sub-domain or your own domain:
An activation email will be sent to your registered email address. Go to your given email and click on the activation link to activate your blog.
As the next step, “set up your blog” fill in your blog title, tagline which is optional and Language ànd press Next Step.
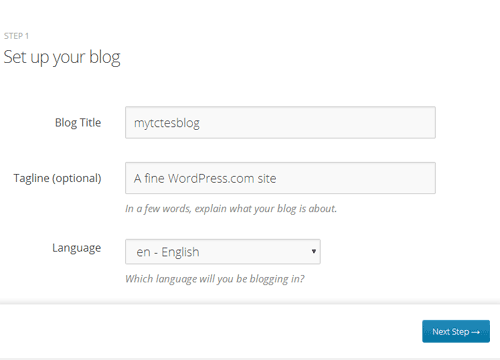
For the sake of demonstration, we have created a free test blog with title myblog. The tagline is: Create a blog example and language selected is English. You can see it at http://mytctesblog.wordpress.com/.
The next step is to select a theme for your blog. You can choose a free available theme or a paid one. See the screen below:
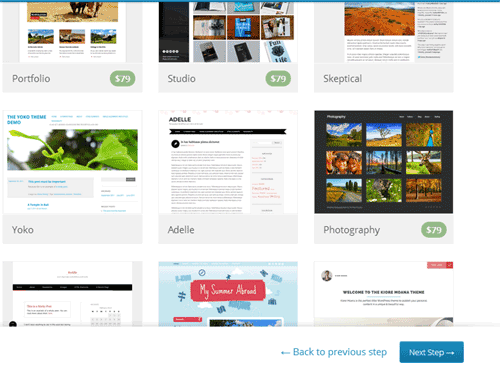
For our example, we have chosen “Adelle” theme. You can customize your theme as you choose right there or later.
Step 4 is sharing your blog posts. We are leaving this for now, press next. The next screen is where you can write your first post. Choose any option – Text, Photo, Video for what you want to write your first post. You can also leave it for now and come back later to write a post.
Is not that simple?
Leave A Comment?